

Anyone who has attempted jewellery photography can express to you the difficulty of showcasing such intricate pieces. From necklaces to diamond rings, it’s essential to approach taking images of them correctly to get the perfect image. This post will share with useful techniques for taking jewellery photos which will make the process a lot easier.
In this article we will cover everything from studio lighting, equipment, props and the post production of Jewellery Photography
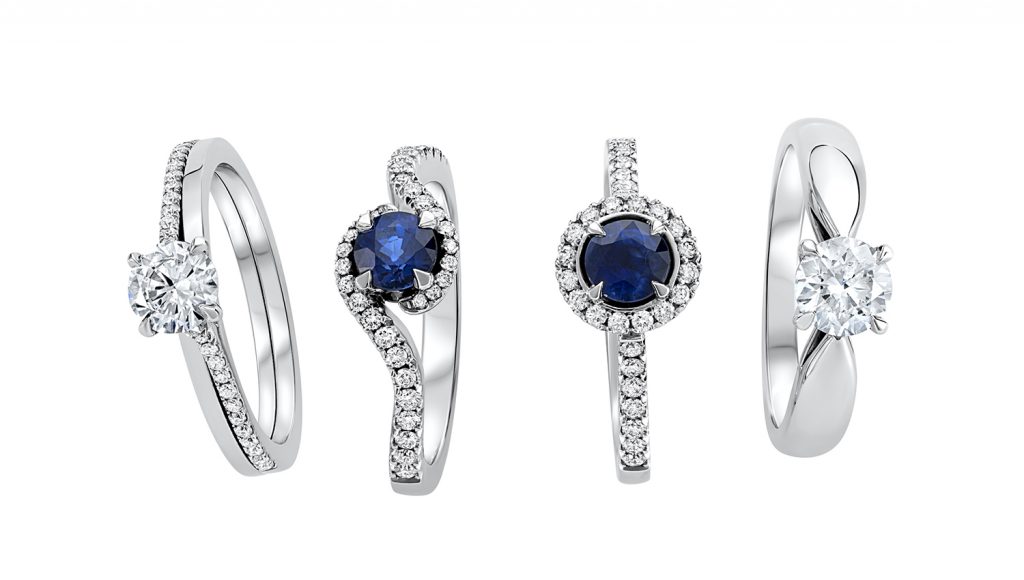
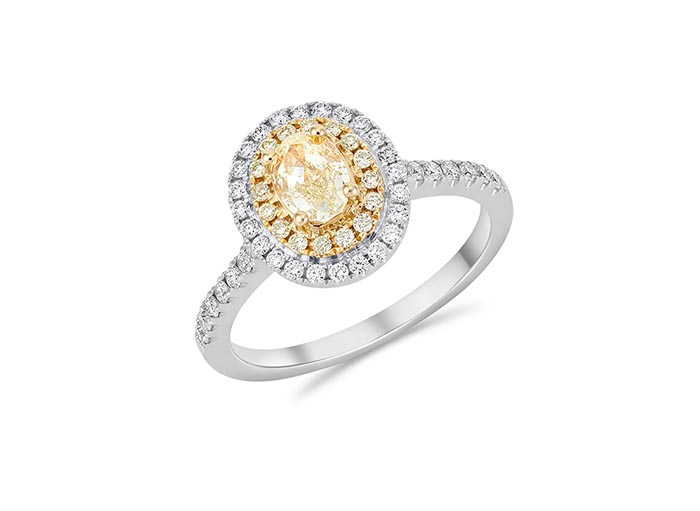
When we consider jewellery, it could be rings, necklaces or watches, they all come with their own challenges. We would usually consider jewellery as luxury small products, designed with brilliant detail, and made from the finest materials. They are small products, which can be difficult to position when shooting. They are detailed, which means we need to use creative lighting to bring out the ideal reflection, texture and colour of the design as they are made from some of the finest materials which can be extremely shiny or transparent, so we have to take care and understand how to best reflect the brilliance of these materials in the image.
• PLANNING
When working on your preparation before shooting, really consider the product and what would really help to emphasise it more. If we think about the backgrounds you may consider using for the shoot, which would be the best option? For jewellery, you never want the product to become lost in the background. Try to use colours and textures which complement the Jewellery, instead of colours and props that may overpower it.
I think it’s also important to bring up an essential but easily forgotten bit of housekeeping when taking jewellery photography shots, clean your jewellery! It’s such an easy task to do and it can help save you so much time when editing, as you won’t have to spend time removing specs of dust or fingerprints.
After all your decisions about backgrounds are made and the best angles are figured out, it is time to think about lighting.
To us, jewellery photography is an art of showing people what your jewellery means to you.
-MO STUDIOS
• SETTING UP
When shooting jewellery, take your time to experiment with the shots. Reposition the lighting – go back and forward with the positioning of the lights to see what effect this would have on the final images. When shooting these types of items, think about what you would like to really achieve from this shot? Using more lighting could help to make the jewellery shine.
Rings can seem quite tricky and probably one of the most difficult items to shoot. My top tip for anyone struggling to shoot a ring is lighting. Try using four or even five lights around the ring, this can help to reduce the reflection coming off a shiny ring. To control the direction of the light beam consider using snoots, they will help to give the jewellery some sparkle. If you analyse the object correctly and set out the best environment to shoot it in, you can really create some incredible images.
• SHOOTING JEWELLERY
Once the lights are up, the next step would be to solve the depth of field. Even if you set your aperture to f11, the size of your jewellery and the proximity at which you are working means regardless of which camera settings are used, not every detail of the jewellery can be captured pin sharp. Setting a smaller aperture can increase DOF. But. setting bigger aperture causes lens diffraction into the photo resulting in some fuzziness.
So, how do you shoot with the best aperture and get your object sharp from front to back? A technique that can help to overcome this issue is called focus stacking. It’s a brilliant exercise to do when you’re doing this sort of detailed jewellery photography. For focus stacking you take a series of images at different focus points. Then, you blend all the images together into one, to get a final image which is detailed throughout.
For jewellery photography we usually use full frame camera with a 105mm macro lens (that’s equivalent to about 150mm on crop sensor). In terms of focal lengths, it seems that most people get confused by “full-frame equivalent” jargon that is often used to describe lens attributes on different camera sensors. In essence, it’s a measure that indicates the angle of a particular combination of a lens and sensor size.
It’s always a good idea to put your camera on a tripod to keep it sturdy and prevent camera shake. Make sure that your lights remain in the right position and, if you focus stack your images, keep it aligned.
• RETOUCHING
With the editing of the images, the stacked shots will be the most time consuming to edit. However, it’s fairly simple to complete in Photoshop
All the jewellery images will require some level of cleaning up like you would expect. It can be anything from colour enhancement when lighting doesn’t completely reach the levels required, to removing dust from images.
Hopefully the steps I’ve gone through with you in this post will help you along your way with taking some brilliant jewellery product photography images.
One last thing, very minimal retouching will be required to your images if you get it right in camera with great lighting!
Read our ecommerce tips for selling Jewellery here.
Leave a Reply